
Installation
Before we can start working with Apache ServiceMix, we have to get it installed and running on our local machine first.
System requirements
For running Apache ServiceMix itself, you'll need
Java Runtime Environment (JRE) 1.6.x (Java 6) or
Java Runtime Environment (JRE) 1.7.x (Java 7)About 100 MB of free disk space for the default assembly
If you're developing your own integration applications and OSGi bundles, you'll also need
Java Developer Kit (JDK) 1.6.x (Java 6) or
Java Developer Kit (JDK) 1.7.x (Java 7)Apache Maven 3.0.4 or higher
Downloading Apache ServiceMix
Apache ServiceMix 7.0.0-SNAPSHOT is available under the Apache License v2 and can be downloaded from http://servicemix.apache.org/downloads.html.
Depending on your operation system, you should download either the tar.gz or the zip file:
tar.gz for Linux/Unix/MacOS X
zip for Windows
Installing Apache ServiceMix
Installing Apache ServiceMix is as simple as uncompressing the downloaded archive on your hard disk. For the rest of this guide, we'll refer to the this location as <SERVICEMIX_HOME>.
Starting Apache ServiceMix
Depending on your platform, start Apache ServiceMix by following the instructions below. After starting the container, you will have access to the console from which you can manage the container.
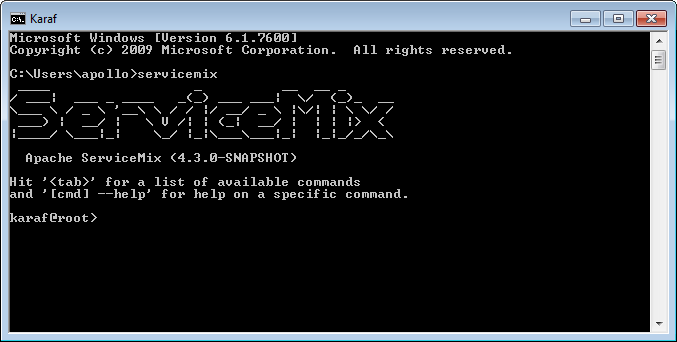
On Windows
In a command prompt window, navigate to the directory where you extracted ServiceMix and run the bin\servicemix.bat file.
Example: if ServiceMix in installed in the c:\tools\apache-servicemix-7.0.0-SNAPSHOT directory
> cd c:\tools\apache-servicemix-7.0.0-SNAPSHOT
> .\bin\servicemix
On Linux/Unix/MacOS X
On a command shell, navigate to the directory where you extracted ServiceMix and the bin/servicemix shell script
Example: if ServiceMix is installed in the ~/Applications/apache-servicemix-7.0.0-SNAPSHOT directory.
$ cd ~/Applications/apache-servicemix-7.0.0-SNAPSHOT
$ ./bin/servicemix
!/quickstart/images/start-linux.png
|width=75%|height=75%!